6+ Steps to Going Paperless
1. Cut off the current paper
Decide what email address will be used for your paperless life, whether home or business. You may have several email addresses or just one. Decide which one will receive the correspondence that used to come to you by paper. Then:
- Utilities – log in, choose “paperless billing.”
- Bank & Brokerage accounts: log in, choose “paperless statements & correspondence.”
3. Decide on a naming convention for your digital paper
This is not a critical item, but it speaks to retrieval. If you were looking for a document, how would you think of it? Then name it that way.
2. Decide on a Filing System
- If your current paper filing system works for you, an electronic filing system set up in the same way will probably be your best. Now is not a good time to change systems, as for a period of time you will be in a hybrid state-in two systems (paper and digital) at the same time. You don’t want to be searching for a document in a hurry and not be able to remember how you filed it.
- If your current system doesn’t work, or you don’t have a system, then you’ve probably been thinking about a system or what you would like. Start with that.
- Have no system and don’t want one? The beauty of digitizing is the “search.” You can, in fact, dump all the papers into one “pile” (file) on your computer, and if you name your documents correctly, can find any paper in the “pile” in a trice. THAT’S why we love being paperless!
4. Decide on backup options
Your paper is stored somewhere and if a fire happened, you’d lose it all. What is your failsafe? Same thing applies to data. If your computer system was stolen or failed or destroyed in a fire, for instance, you could lose all your data. Don’t.
I recommend at the minimum a personal backup and a cloud backup.
So your data should be in two or three places:
- on your hard drive for ready access
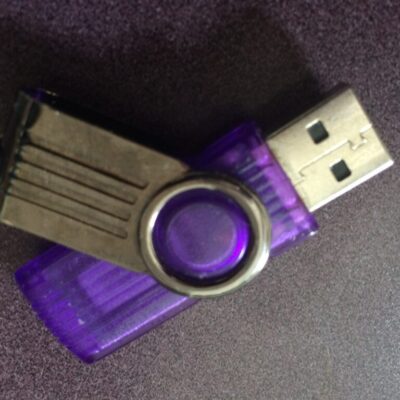
- on a thumb or portable drive either in a fireproof box, or carried with you; i.e., separated from your main system
- in the cloud
It’s easy to keep your files in the cloud for ready access (think Google Drive, Dropbox, Box), thereby freeing up hard drive space. Plus it’s very convenient to be able to access documents when you’re not at your computer or not carrying your laptop.

5. Get a scanner
Get one that works FAST. Most flatbed (printer/scanner combo) don’t work fast enough. And one you have to feed one papge at a time?—NO. But anything is better than nothing, so dive in.
In the meantime…
…stay paperless in real time. Download & file emailed documents as they come in and as normal paper comes in by mail or by your carrying it in, scan it, file electronically, and toss/shred it.
6. Start converting
Decide what will convert first. Tax documents? Current year data? Recent history? Past history?
Also decide the cutoff. How far back will you go?
Converting will take time. I suggest starting with the things you wouldn’t want to lose first—likr, if your file cabinet or paper pile caught fire—then move on to the lesser important.
Periodically
Log into your banks, utilities, etc, and download the documents. I do this every month when paying bills, but for accounts such as my brokerage, I may log in and download just once or twice a year. A lot of entities won’t store your documents longer than 3 years, and some only 3 months, so make sure you get your documents while you can.
